BLEACH Mirrors High team guide
Make three slots work toward the same interaction. Start with critical support, status control or defensive switching, then read the conditions that hold the lineup together.
Based on official documentation; not hands-on gameplay testing.
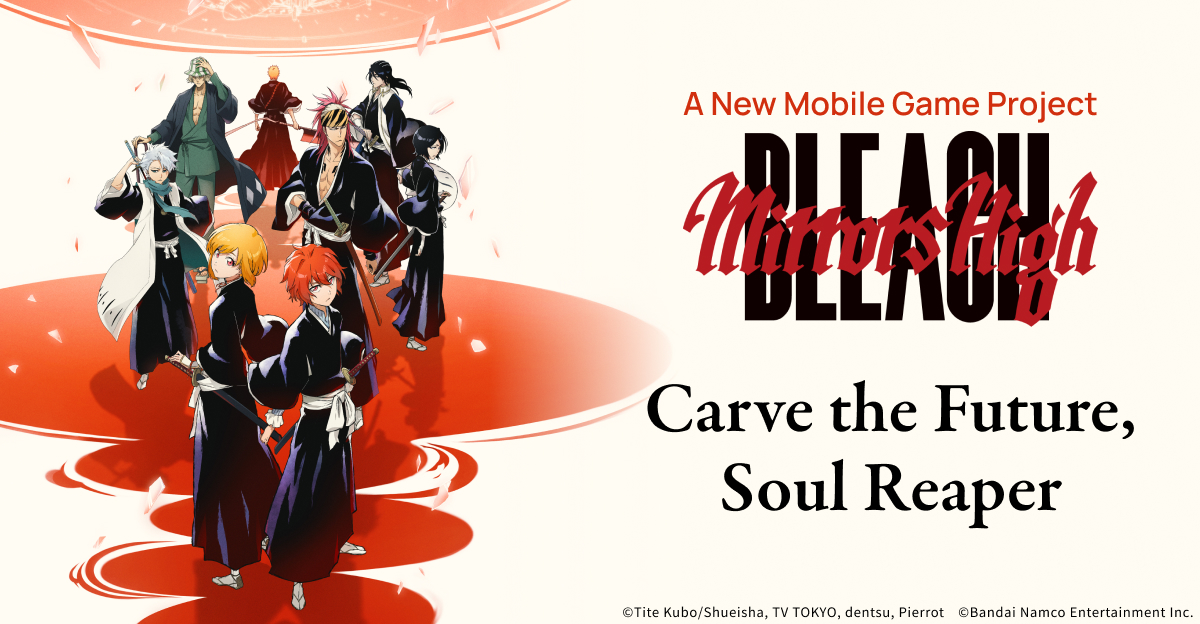
Official game artwork ↗©Tite Kubo/Shueisha, TV TOKYO, dentsu, pierrot ©Bandai Namco Entertainment Inc.
On this page
Three slots and the confirmed battle system
BLEACH Mirrors High uses a three-character team, but its battle can look one-on-one because you control an active fighter and coordinate the others through switching and linked attacks. The publisher’s system and character material describe Action Cards, Mortal Blows, Soul Drive and field-entry or standby triggers. A teammate can matter even while it is not the fighter currently attacking.
This answers the launch-community question about why a three-person game appears to be a duel. Build around what changes when a character enters, leaves or applies an effect. Simply placing three highly rated attackers together does not explain when each one contributes.
See the game in motion
The publisher’s short battle preview helps you locate the active fighter, enemy information and Action Card row. Use it alongside the written explanation; preview footage does not verify release balance values or a tested rotation.
Publisher website preview · development footage, not a recording of our playthrough
Official game artwork ↗©Tite Kubo/Shueisha, TV TOKYO, dentsu, pierrot ©Bandai Namco Entertainment Inc.
Playing this clip connects to Bandai Namco’s media server. The poster is stored on this guide site. Privacy
Open the original videoTurn a skill description into a playable team plan
Write a short sentence for each slot: “this character creates the condition,” “this character benefits from it,” or “this character keeps the plan running.” Then trace the condition back to the exact card or innate. For the critical-support example, a useful question is whether Rukia has attacked an afflicted enemy before you expect her critical support to help the next attacker.
Check the recipient as carefully as the trigger. Rangiku’s published Skill raises team Critical Hit Rate, while Sado’s defense Skill applies to himself. Likewise, Rangiku’s and Sado’s Mortal Blow descriptions remove their own debuffs. A self effect cannot fill a team-wide support job merely because the character’s overall label says Supporter.
| Condition to trace | Published example | Question for your team |
|---|---|---|
| Attack connects | Ichigo gains Attack after Arts 1 hits. | Can you land that card reliably, or does the opponent keep interrupting it? |
| Target is afflicted | Rukia’s innate rewards attacking a status-afflicted enemy. | Who applies the ailment, and is it still active when she attacks? |
| Return to standby | Rangiku supports team critical rate after returning to standby. | Which teammate uses that opportunity after she leaves the field? |
| Field entry | Aizen gains Attack and extends remaining team switch cooldowns. | Will the next required switch still be available when your plan needs it? |
Critical support: Toshiro, Rukia and Rangiku
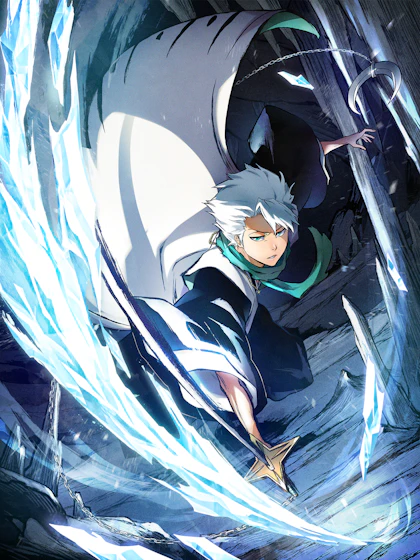 Toshiro Hitsugaya[Squad 10 Captain]
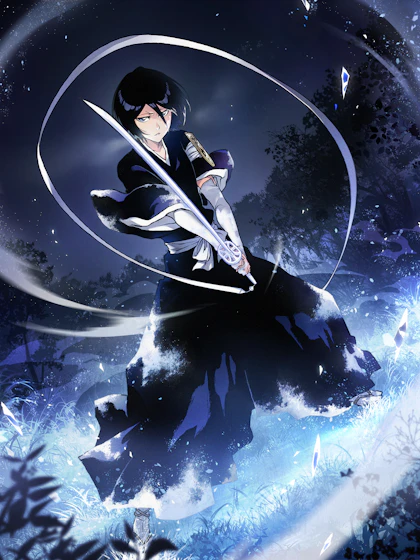 Rukia Kuchiki[Squad 13 Lieutenant]
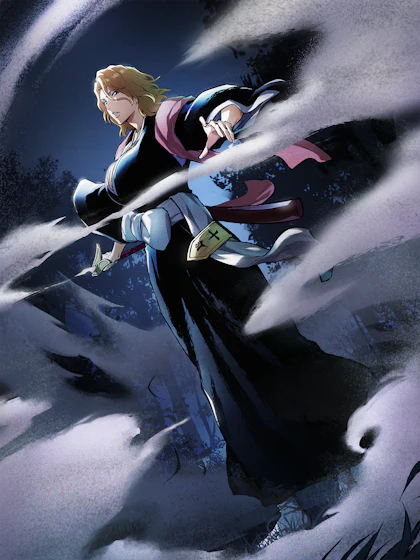 Rangiku Matsumoto[Squad 10 Lieutenant]
This is a kit-based example to investigate. Rukia can inflict Bind or Freeze and rewards attacks against a status-afflicted enemy. Rangiku adds critical-hit-rate support on returning to standby, and Toshiro’s published kit interacts with critical hits and Frostbite. These effects give the three slots a shared purpose.
Read the trio as linked jobs rather than a compulsory button order. Rukia supplies a way to create the afflicted-target condition; Rangiku offers a critical-support opportunity after leaving; Toshiro is the intended beneficiary of critical hits. Against a target that resists the relevant ailment, first check which part of the chain still functions. Do not keep assuming the full interaction occurred because all three names were on the team-selection screen.
- Toshiro [Squad 10 Captain] — critical-hit attacker; check the conditions on his own effects.
- Rukia [Squad 13 Lieutenant] — status control and critical support against an afflicted target.
- Rangiku [Squad 10 Lieutenant] — critical-hit-rate support through her standby trigger and Skill.
The sequence is a theory, not a fixed rotation: check target resistance, effect durations and the exact live versions. No tested clear time or PvP result is claimed.
Defensive support: Ichigo, Sado and Orihime
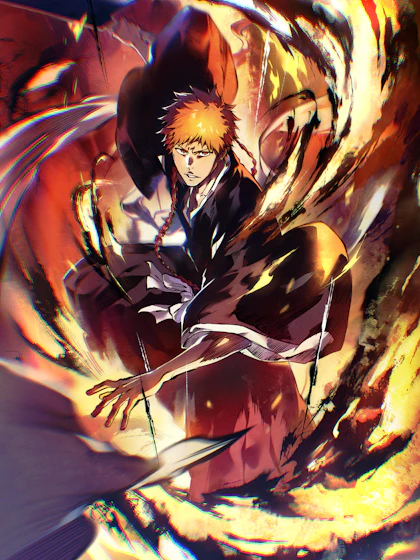 Ichigo Kurosaki[Substitute Soul Reaper]
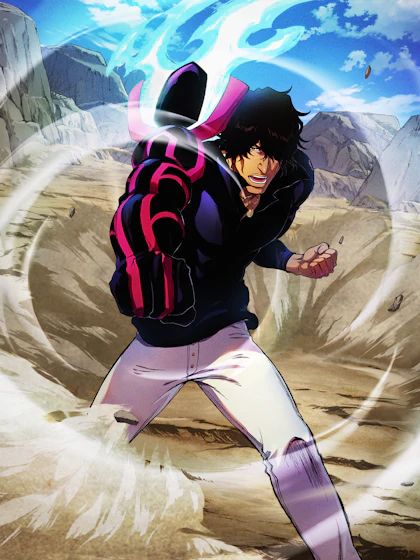 Yasutora Sado[Brazo Derecho Del Gigante]
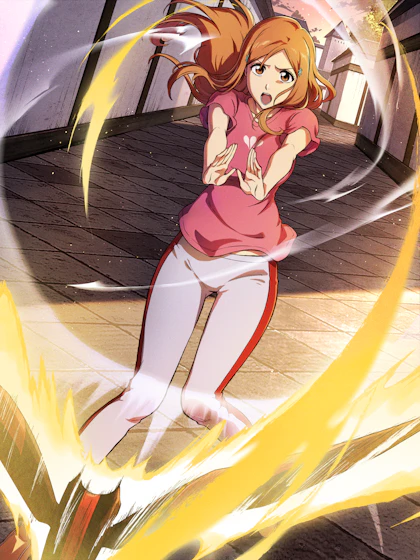 Orihime Inoue[Shunshunrikka]
A second paper lineup puts an attacker beside two defensive contributors. Ichigo’s Arts 1 hits can build his attack. Sado’s entry and Cover Change behavior can help the team rotate, while Orihime’s published kit reduces enemy attack or team damage taken under its stated conditions.
In this example, decide whether you are trying to survive an incoming sequence or prepare the attacker’s return. Sado’s stated Cover Change property concerns the outgoing ally’s Switch cooldown; it does not mean every voluntary switch is free. Orihime’s mitigation and resistance are different tools from healing. If your problem is recovering lost HP, do not assume this trio answers it without a recovery effect in the live kits.
- Ichigo [Substitute Soul Reaper] — the attacking slot, with an Arts 1 condition to follow.
- Sado [Brazo Derecho Del Gigante] — defensive utility and Cover Change interaction.
- Orihime [Shunshunrikka] — damage mitigation and status resistance; this kit is not described here as a healer.
The sequence is a theory, not a fixed rotation: check target resistance, effect durations and the exact live versions. No tested clear time or PvP result is claimed.
Aizen’s attack boost has a rotation cost
[Standing at the Top] Sosuke Aizen gains attack on field entry, but his innate also increases the team’s remaining switch cooldown. That can work against a plan that depends on frequent switching. Read this drawback alongside his attack Skill before replacing an existing damage dealer.
The official 29 October introduction lists different initial and final innate values. Do not mix the stronger upgraded value with an unupgraded account when comparing him.
Status effects create jobs for other characters
Byakuya’s Bleed and Bind, Mayuri’s Poison and defensive debuffs, and Bambietta’s Burn-based damage condition are examples of effects to read across slots. First identify who applies a condition and who benefits from it. An effect with a similar name is not proof that every interaction stacks or works against every enemy.
Missing a named teammate? Replace the job first
You do not need to own every portrait shown above to use the reasoning. If you have Toshiro but no Rangiku, search your actual roster for a team critical-rate effect and read its recipient and condition. A self-only critical boost on another attacker does not replace Rangiku’s team support. If no unit provides the same effect, accept that you are building a different plan and choose the third slot for a benefit you can actually activate.
The same method applies to a defensive slot. Ask whether you need a safe field entry, lower incoming damage or resistance to a specific status. These are different problems. Compare the relevant live text before replacing Sado or Orihime by name, and keep enough resources for the character you will actually field. An underbuilt substitute may obscure whether the team idea itself works.
A launch-roster example, not a best team
If you claimed the launch-announced ★3 Ichigo and ★3 Rukia gifts, use them as two identified slots while you inspect your available third character. This is a way to organize a starting roster. We have not tested this combination or established that it is stronger than your alternatives.
| Slot | Roster example | What to check in the live client |
|---|---|---|
| 01 | ★3 [Substitute Soul Reaper] Ichigo Kurosaki | Read this version’s Action Cards and Mortal Blow. |
| 02 | ★3 [Squad 13 Lieutenant] Rukia Kuchiki | Check this version’s effects; do not substitute a preview kit. |
| 03 | A third character you actually own | Write down its complete title, rarity and the job its current kit can perform. |
Choose jobs from skill text, not assumptions
Give each slot a clear purpose based on its current effects. One may deal damage, another may contribute a status effect or defensive benefit if its kit actually says so. These are comparison questions, not a prescribed class system.
- Condition: what has to happen before the effect activates?
- Target: does it affect the user, a teammate, the whole team or an enemy?
- Timing: when can you use it, and does that fit the sequence you plan to play?
- Trade-off: what useful effect would you lose by replacing this character?
When a team feels weak, identify the broken step
Use the symptom to narrow the next change. This is an editorial troubleshooting checklist, not a claim that a particular character fixes every encounter.
| What you observe | What to inspect next | A useful comparison |
|---|---|---|
| Your attacker does little damage. | Level, investment, Arts matchup and whether the expected buff activated. | Keep the same teammates and correct one condition before replacing the attacker. |
| A support appears to do nothing. | Whether its effect is self-only, team-wide, entry-based or standby-based. | Watch the exact trigger rather than judging the slot only by its own damage. |
| The planned switch is unavailable. | The remaining switch cooldown and any effect that changes it. | For an Aizen plan, compare the timing before and after his entry. |
| Status-based support never starts. | The correct ailment, its application, target resistance and when you attack. | Try an encounter where you can observe the condition clearly before drawing a general conclusion. |
Compare one change at a time
Choose one familiar encounter and keep the difficulty, active attacker and investment similar. Change one slot, then note both the result and whether the intended interaction happened. Record the game version, exact units, levels and relevant equipment. A faster clear is useful, but knowing why the second setup behaved differently gives you a plan you can reuse.
- Record whether the intended effect activated, rather than judging only by a single clear time.
- Separate early story use from any other mode. A conclusion about one encounter does not establish a PvP ranking.
- After a failed attempt, note the specific interruption: a missed Arts answer, a resisted ailment or a switch still on cooldown. Choose the next change to address that observation.
What this guide does not rank yet
The named trios explain interactions from official previews, whose live rarity mapping still needs checking. Optimized rotations, duplicate breakpoints and mode-specific best teams require comparable released-game evidence. Use the external launch ranking comparison for its stated scope, then return here to decide how the characters on your own account would work together.
Sources & review notes
These are the sources used for this article. Announcement details and support instructions can change; check the linked originals and your current in-game notices.
- Official game site — system & product overview Publisher-owned overview; promotional media are marked under development.
- Bandai Namco — global launch announcement Publisher-issued release, 28 Oct 2026. Launch gifts are announced offers, not evergreen guarantees.
- Official Sado kit 23 Oct 2026 official kit preview; Cover Change interaction.
- Community question — why does battle look one-on-one? Public user discussion checked 29 Oct 2026. The three-person setup and switching explanation use publisher material separately.
- Official Ichigo kit 23 Oct 2026 official kit preview; exact live rarity mapping is not supplied.
- Official Rukia preview — development material Preview effects only; not assigned to the launch-announced ★3 gift.
- Official Rangiku kit 23 Oct 2026 official kit preview; standby and critical support conditions.
- Official Aizen introduction — 29 Oct 2026 The character page names [Standing at the Top] and describes both the entry attack buff and team switch-cooldown penalty. Publisher preview; subject to change.
- Official Toshiro preview — development material Preview effects only; not a verified live-release kit.
- Official Orihime kit 23 Oct 2026 official kit preview; defensive effects, not an asserted healing role.
- Official Byakuya kit 23 Oct 2026 official kit preview; Bleed and Bind.
- Official Mayuri kit 23 Oct 2026 official kit preview; Poison and debuffs.
- Official Bambietta kit 23 Oct 2026 official kit preview; Burn interaction.
Source review: 29 Oct 2026. Based on official documentation; not hands-on gameplay testing.